
Email deliverability is a key metric that must be held in the highest regard when it comes to ecommerce and customer satisfaction. We all know the feeling of placing an order online and not receiving a confirmation email immediately - doubt sets in and we wonder “did my order actually go through?”. That’s why leveraging a provider like Sendgrid to handle the bulk and transactional mail from your website or application is paramount to your long term success and reputation.
For businesses on the Internet who send transactional mail, it has been a challenge to confirm delivery of email to their users. Among several reasons, this is often a result of bad actors, such as spammers, who have been using mass mailing tactics resulting in a clamp-down of how mail is classified as legitimate or junk.
Because of this the Sender Protection Framework, or SPF for short, was implemented. This involved setting up a text record on the apex of the zone that would be sending mail, and referencing the permitted domains that send the mail on behalf of that zone’s name.
Then came DKIM, or Domain Key Identified Mail. DKIM introduced an even more stringent authentication schema, at the expense of a large DNS record that teetered on the boundaries of what UDP could transmit effectively.
Thankfully, our friends over at Sendgrid have removed a lot of the mechanics from this and made it super easy to send bulk and transactional mail.
This article will go over the basic steps needed to get a zone ready for optimum deliverability.
Getting Your Domain Set Up With Sendgrid
Log in to your Sendgrid account. If you haven’t created one, go ahead and do that now. Once you’re in, click on Settings on the left hand side of the screen. Additional options will appear - select Whitelabels.
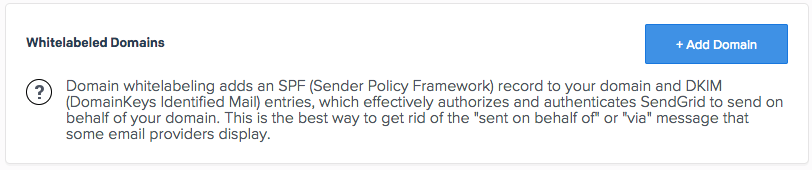
Click the Add Domain button to begin the process of creating SPF and DKIM for your domain.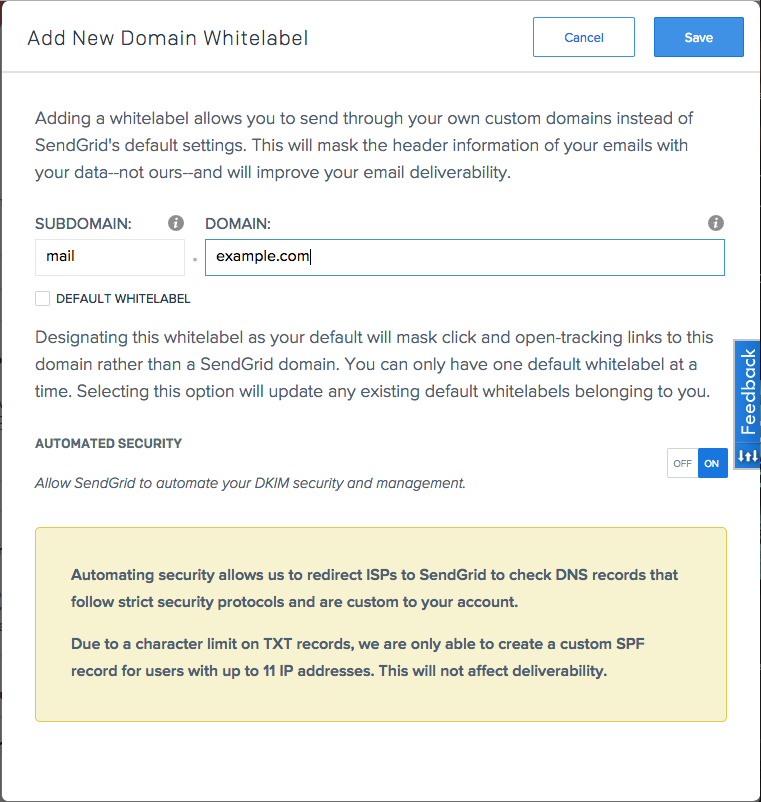
In the subdomain field, define a new label that you’ll end up creating in NS1’s portal in a later step. For this example, and in keeping with best practices around host naming, we’re calling this mail. In the domain field, enter the name of the zone you’re setting the whitelabel up for. It’s best to leave the Automated Security turned on, as SendGrid will optimize the SPF and DKIM records behind a CNAME for better deliverability.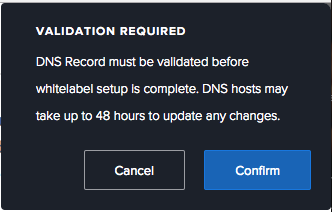
Confirm the changes. Your DNS propagation will take a lot less time with NS1, so this warning is for some of those other DNS providers that take a dog’s age to push things to the edge.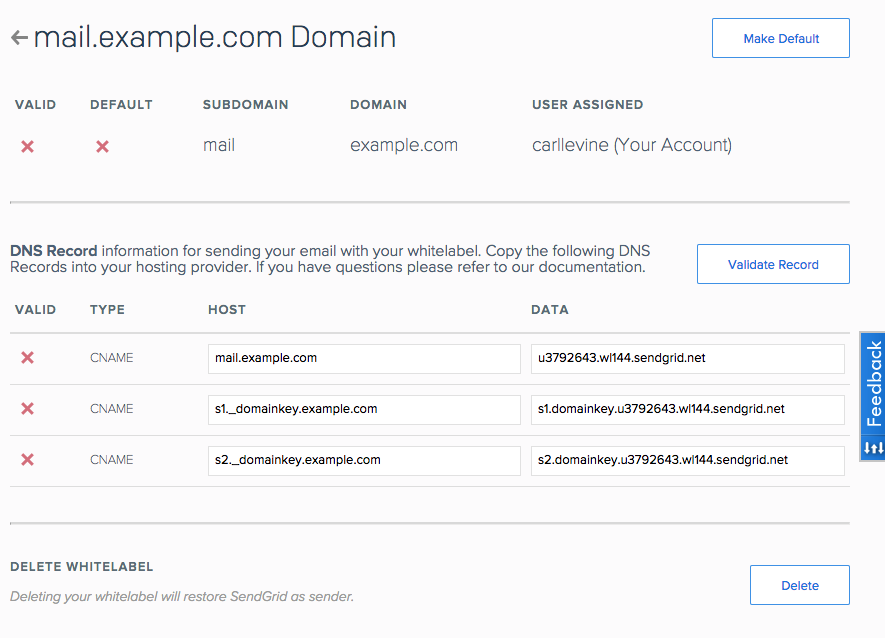
A screen will appear with all of the pertinent information that you’ll need to create some new records in your NS1 portal.
Setting Up The DNS Records
With the information provided by Sendgrid, you’re ready to create three new CNAME records in your zone. Log into the NS1 portal and locate the zone you want to send mail with.
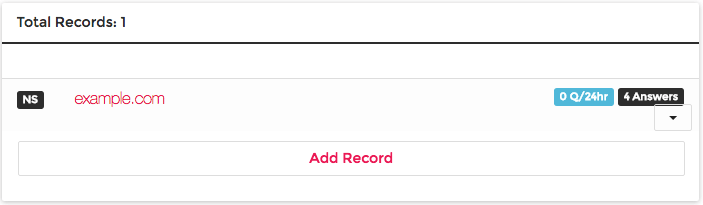
Click Add Record.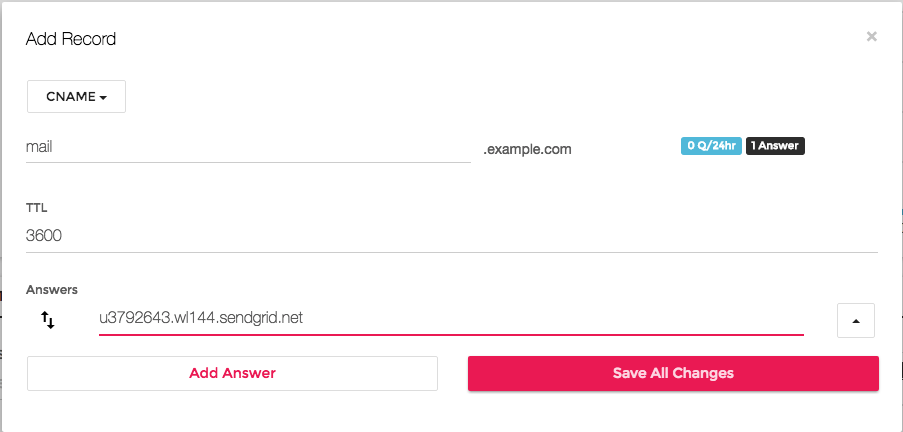
Reference the list of records that Sendgrid provided. Create the requisite CNAME records - changes will be saved as the records are created.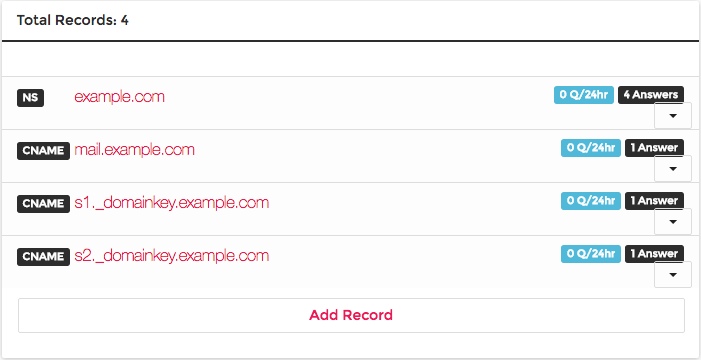
Check that all of the records have been created, proceed to verification.
Verification
Log back into Sendgrid’s portal, click Settings then Whitelabels.
The screen will indicate whether or not the DNS settings have been verified. If the screen indicates success under the VALID column, you’re good to go. If not, review your changes in the NS1 portal - if those are good, there’s likely a negative caching situation on the part of Sendgrid, and the changes will be reflected in short order.